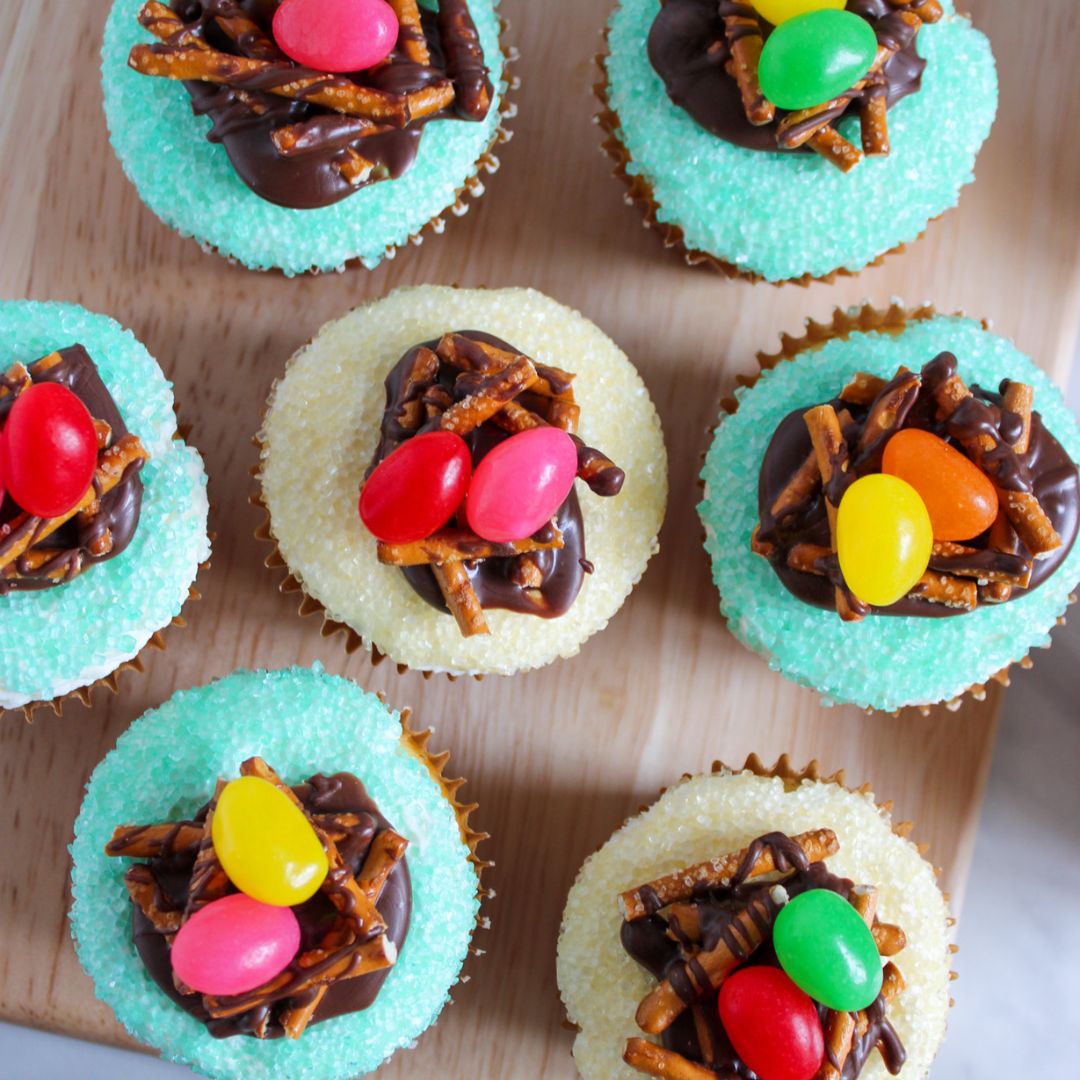
Get in the festive spirit with this delightful Mini Egg Cupcake recipe. It’s a creative twist on a classic treat, perfect for Easter celebrations or springtime gatherings. Easy to make and even easier to love, these cupcakes bring joy and color to any dessert table.
Why You’ll Love the mini egg cupcake recipe
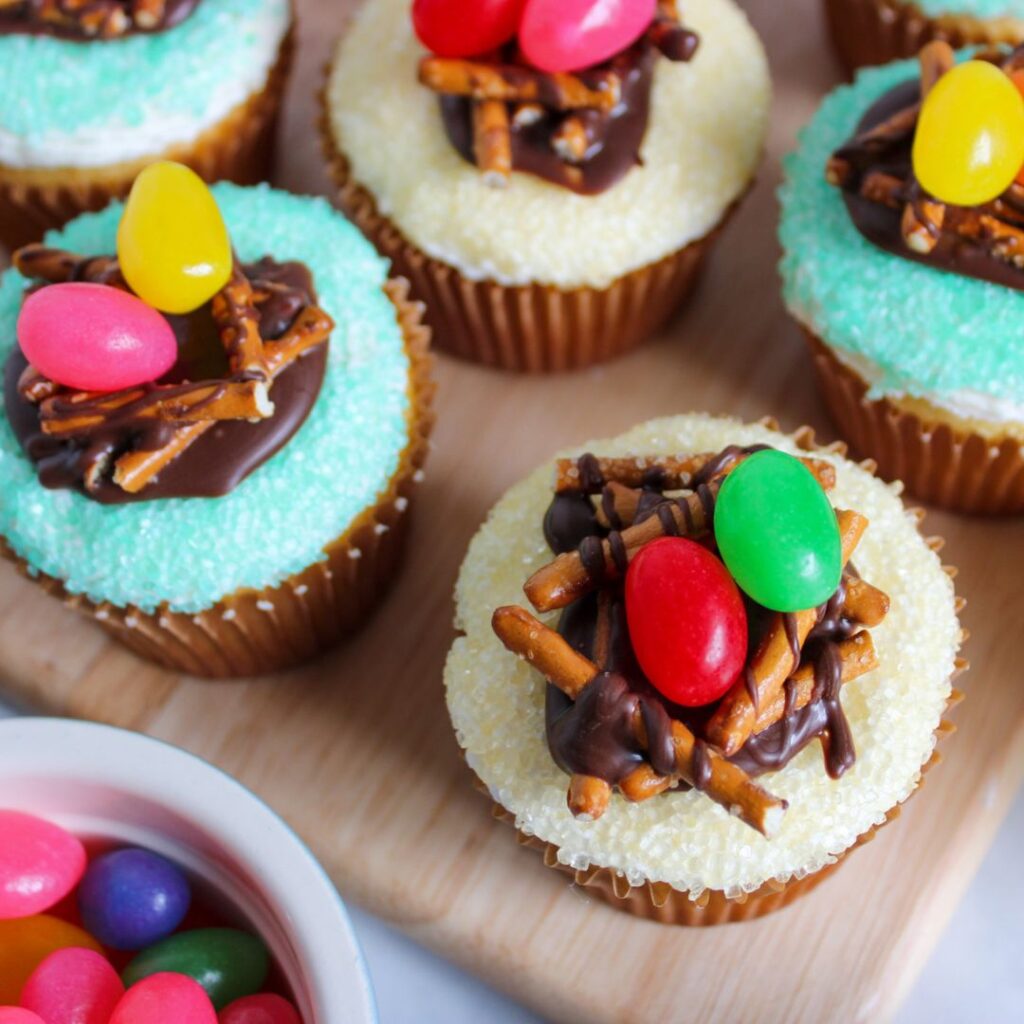
These Mini Egg Cupcakes are adorable, deliciously moist, and flavorful. The combination of soft vanilla cake, creamy frosting, crunchy nest, and sweet jelly beans provides a delightful taste experience with every bite.
Great Family Activity – they’re a fun project to do with kids or to impress guests at your next spring event.
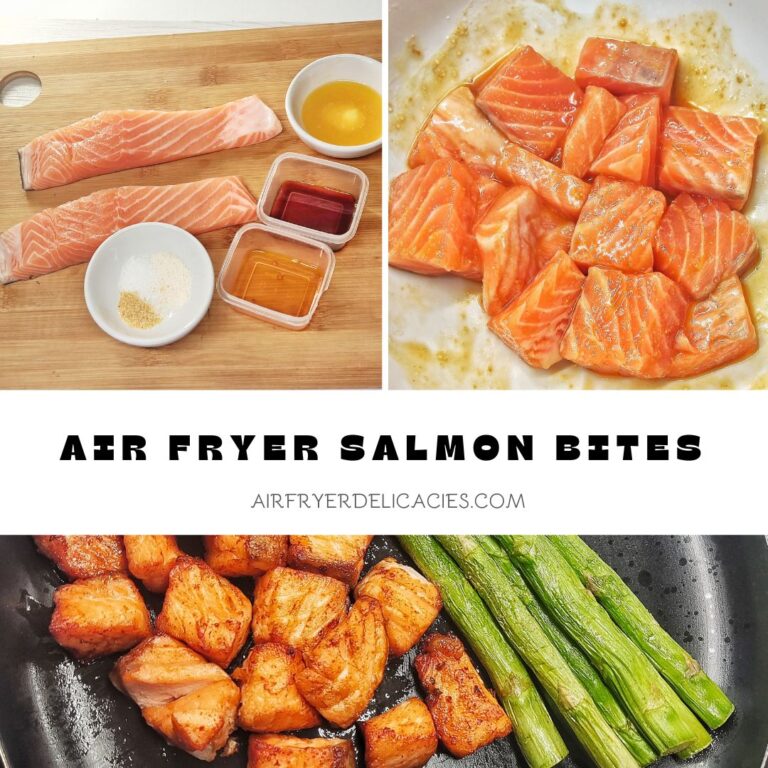
You can recreate this easter cupcake recipe in either the air fryer or in the oven.
Ingredient
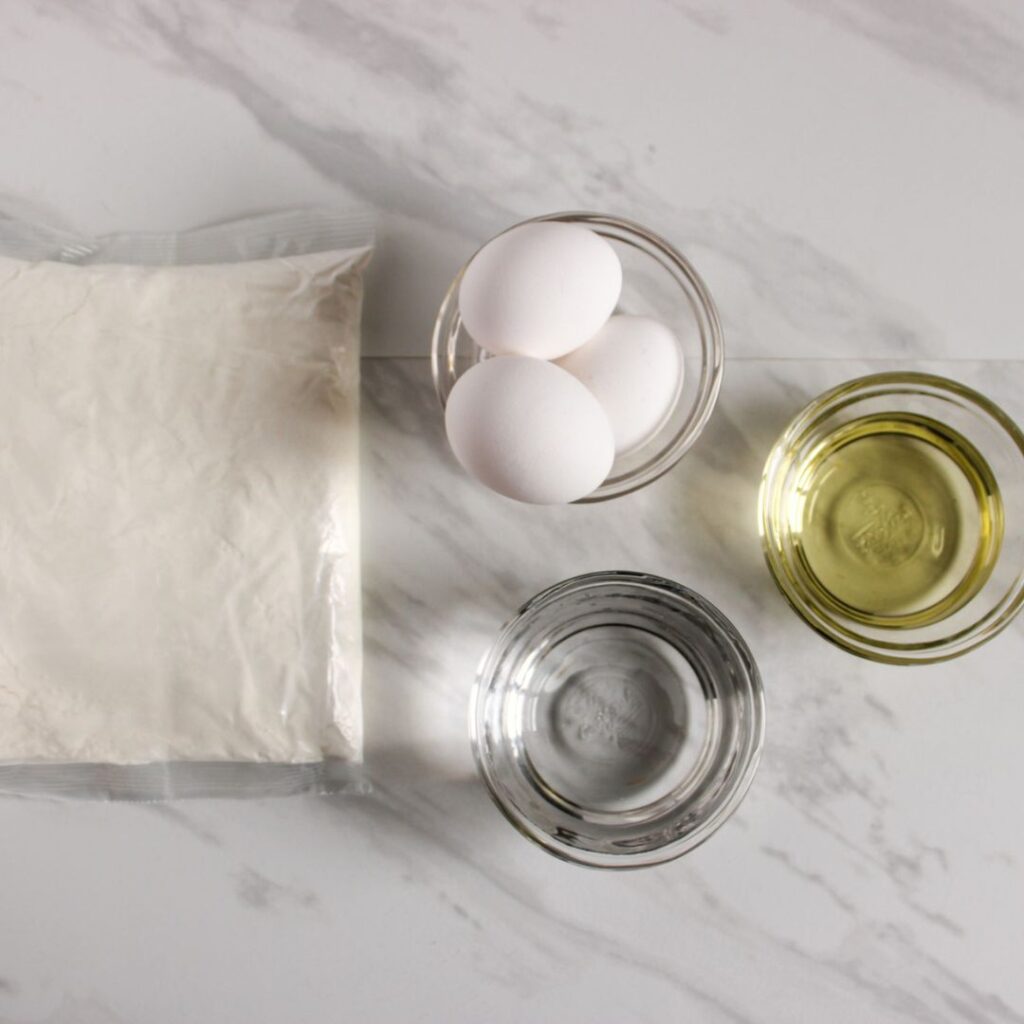
Cupcake Ingredients:
1 box store bought vanilla cake mix
3 eggs
1 cup water
¼ cup vegetable oil
Frosting Ingredients:
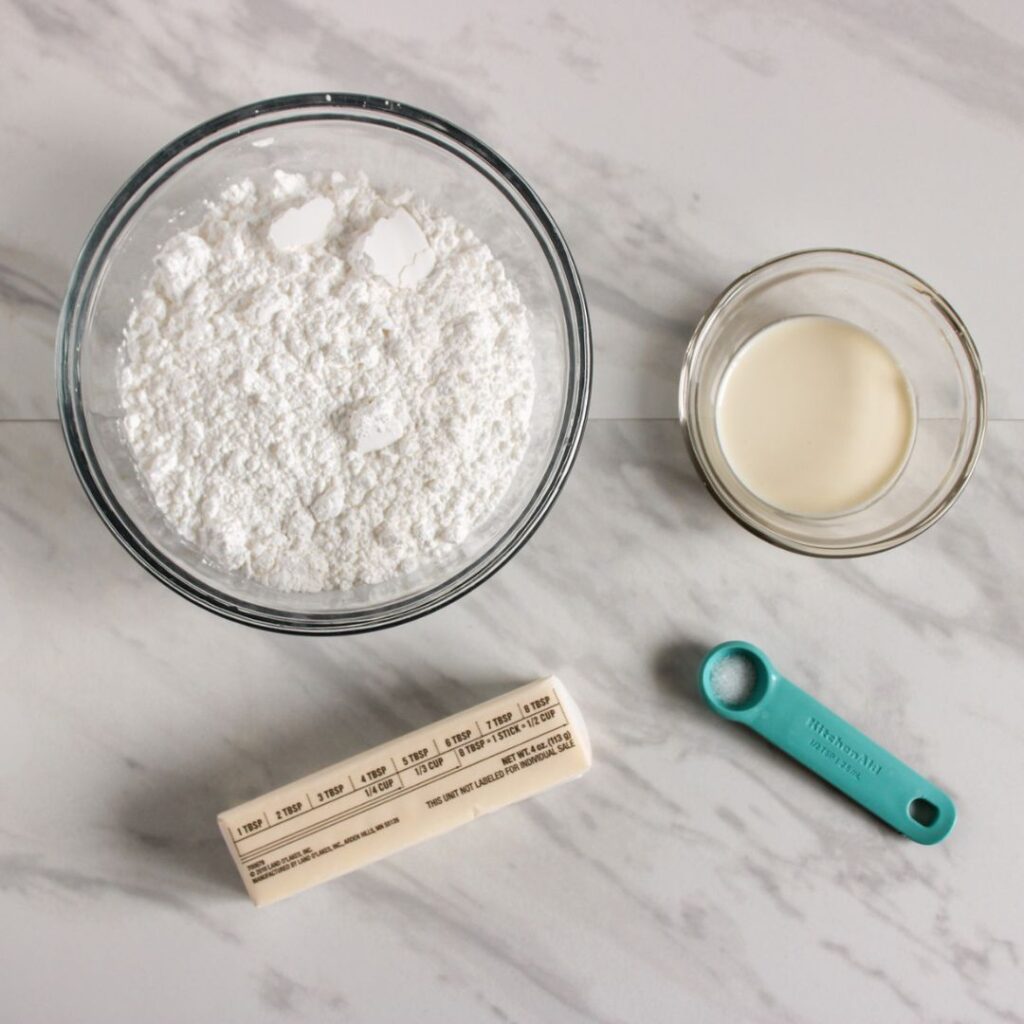
1/2 cup unsalted butter (room temperature)
2 cups powdered sugar
2 Tbsp heavy cream
Pinch of salt
Egg Nest:
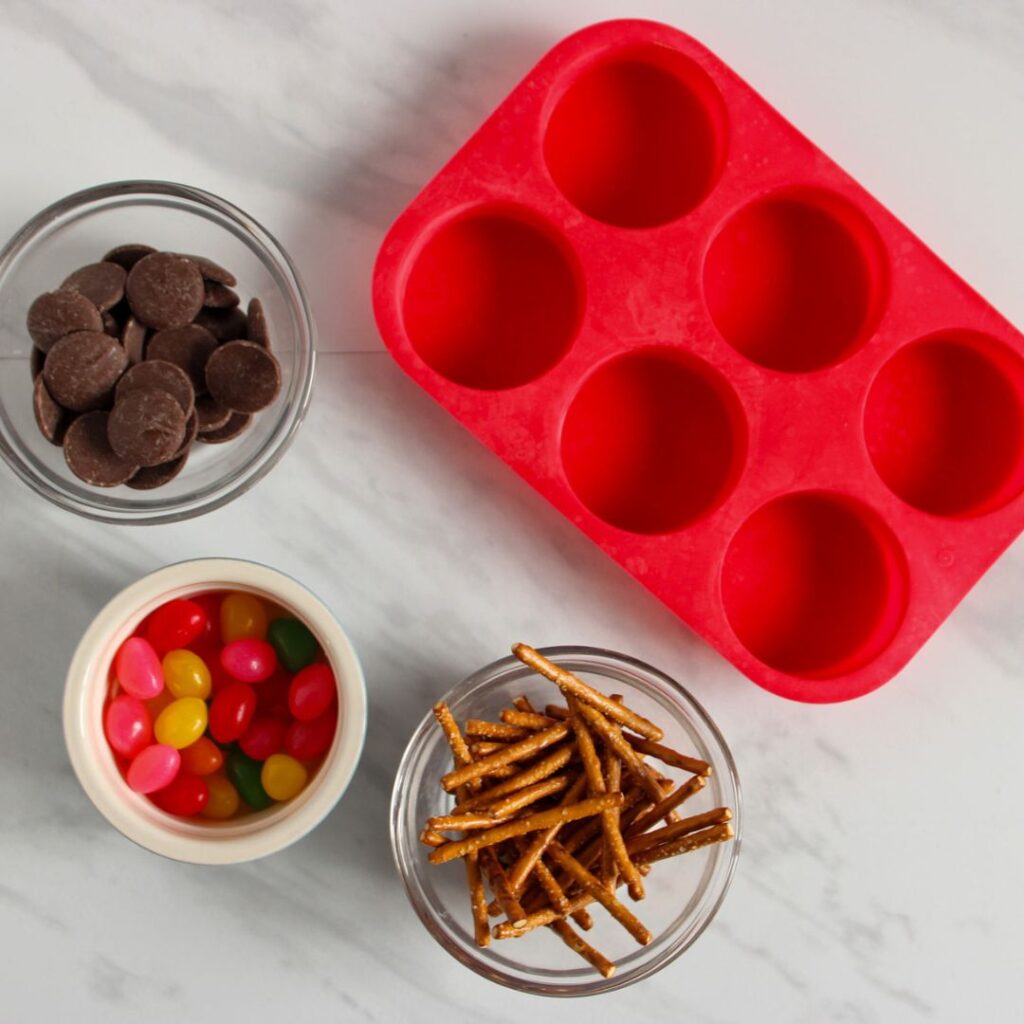
½ cup mini pretzel rods
¼ cup chocolate melting wafers
¼ cup jelly beans
Tools needed
Silicone molds or parchment paper
Green Sanding Sugar
Yellow Sanding Sugar
Substitutions and additions
- Cake Mix: Any flavor of box cake mix can be used, or a homemade cake batter if preferred.
- Butter and Cream: For dairy-free options, use plant-based butter and coconut cream.
- Pretzel Rods: Chopped nuts or shredded wheat cereal can also create a nest-like appearance.
- Jelly Beans: Any small egg-shaped candy can substitute for a similar effect.
How to make the Mini Egg Cupcake
Bake the Cupcakes: Mix vanilla cake ingredients and bake in lined cupcake pans at 350°F for 15 minutes. Let cool.
Make the Frosting: Whip butter, gradually add powdered sugar, cream, and salt until fluffy. Fill a piping bag.
Create the Nests: Melt chocolate wafers, form pretzel triangles on molds or parchment, drizzle with chocolate to secure. Chill to set.
Decorate: Frost cupcakes, dip tops in sanding sugar, add a nest and jelly bean “eggs.”
Instructions
Cupcake Directions:
Preheat oven or Air fryer to 350 degrees F. Add cupcake liners to cupcake pan and set aside.
Add all cupcake ingredients into a large mixing bowl and beat on medium speed for 2 minutes. Transfer 2.5 Tbsp of cake mix into each cupcake liner.

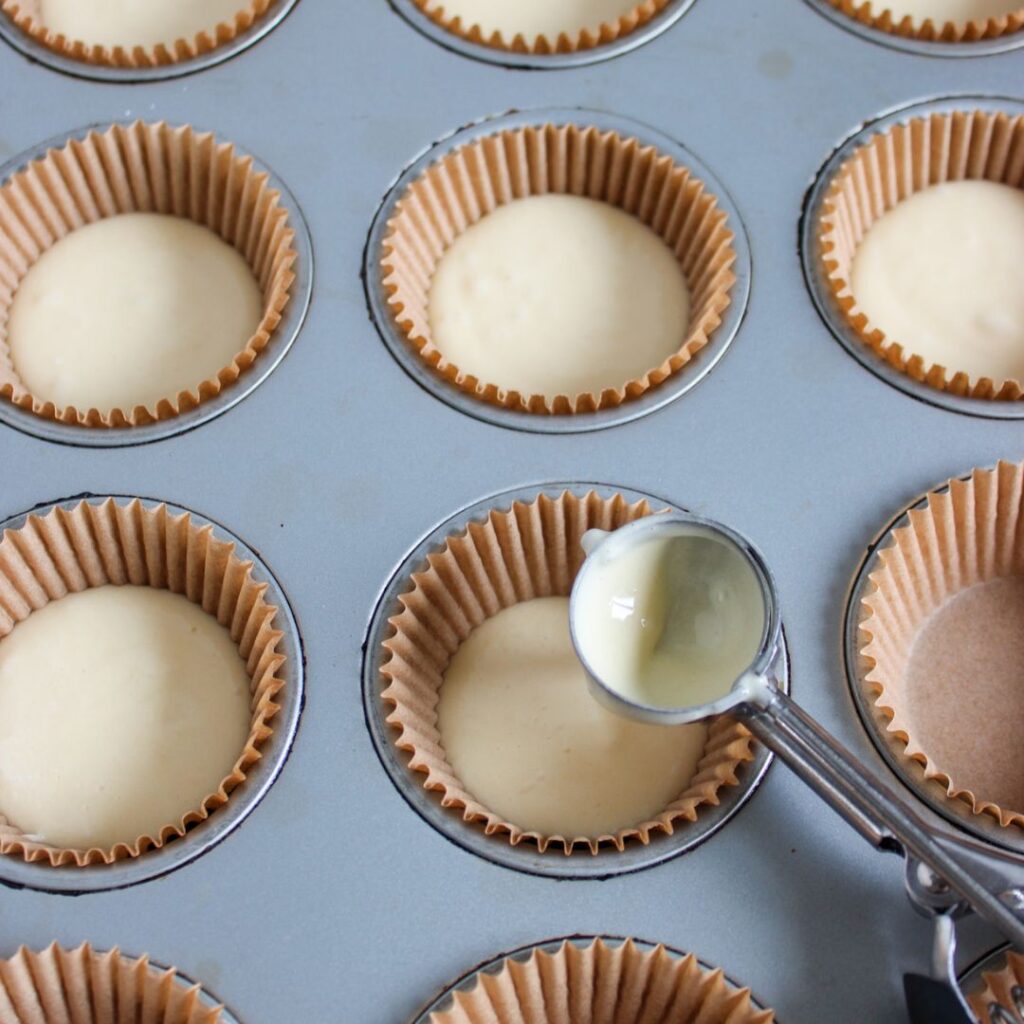
Bake for 15 minutes or until a toothpick inserted in the middle comes out clean.
Remove from pan and allow to cool.
While the cupcakes are baking, make the frosting by adding the butter to a large mixing bowl. Mix on medium speed for 1 minute.
Slowly add the powdered sugar 1 cup at a time. Pause to scrape the bowl, add heavy cream and a pinch of salt if desired.
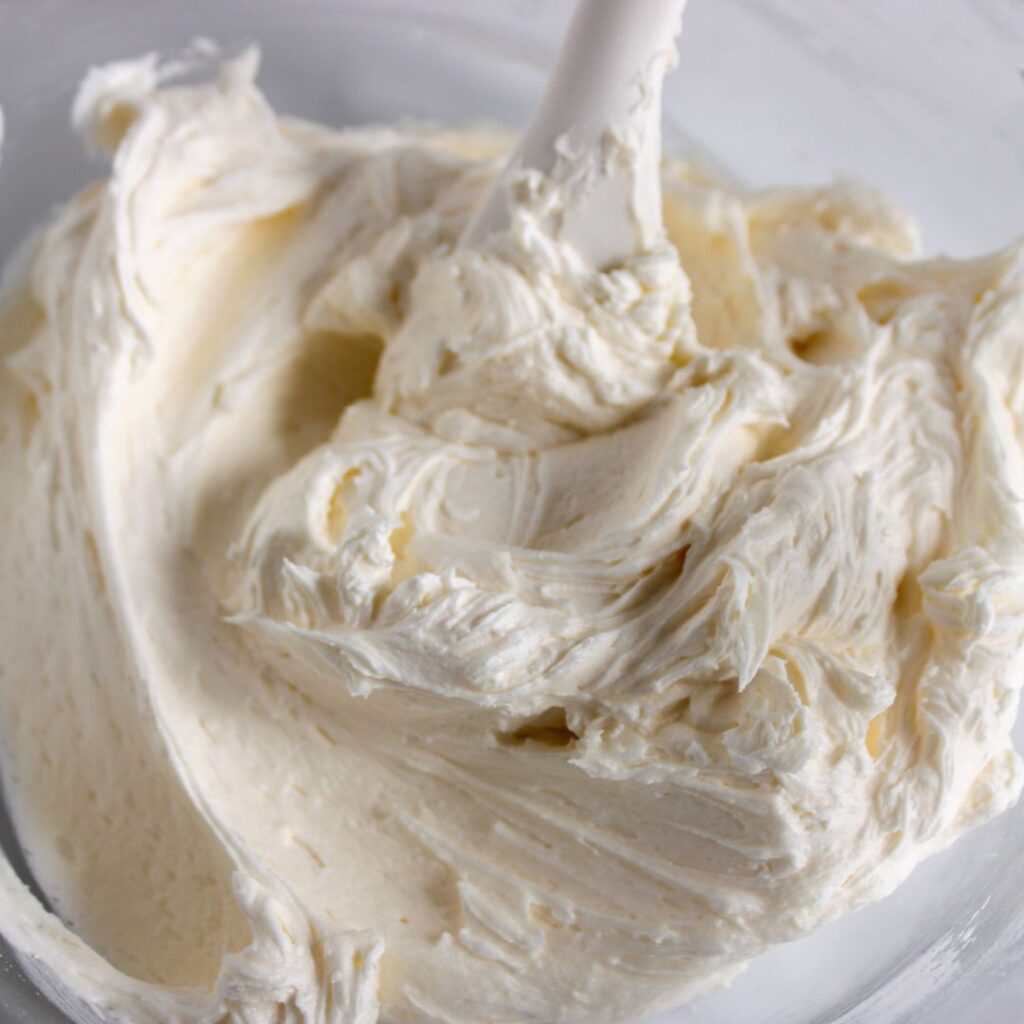
Mix again for 1 minute until a light and fluffy frosting has formed. Transfer to a piping bag.
To make the egg nets, place wafers in a microwave safe bowl and melt according to the package.
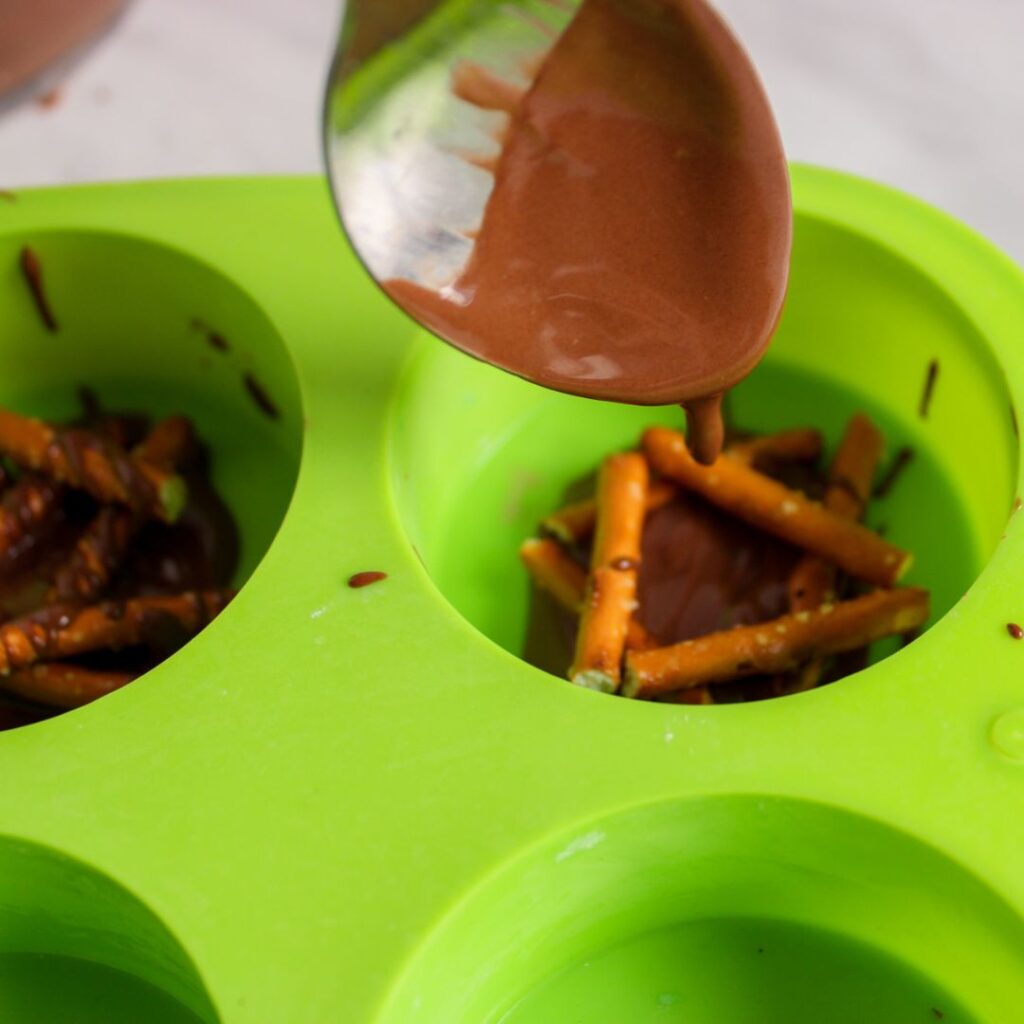
Place a small amount into the bottom of each mold (or parchment paper). Break the pretzel rods in half and make a triangle on top of the chocolate. Add another layer of triangle on top of that one going in a different direction. Drizzle chocolate on top of the entire nest to allow the layers to stick.
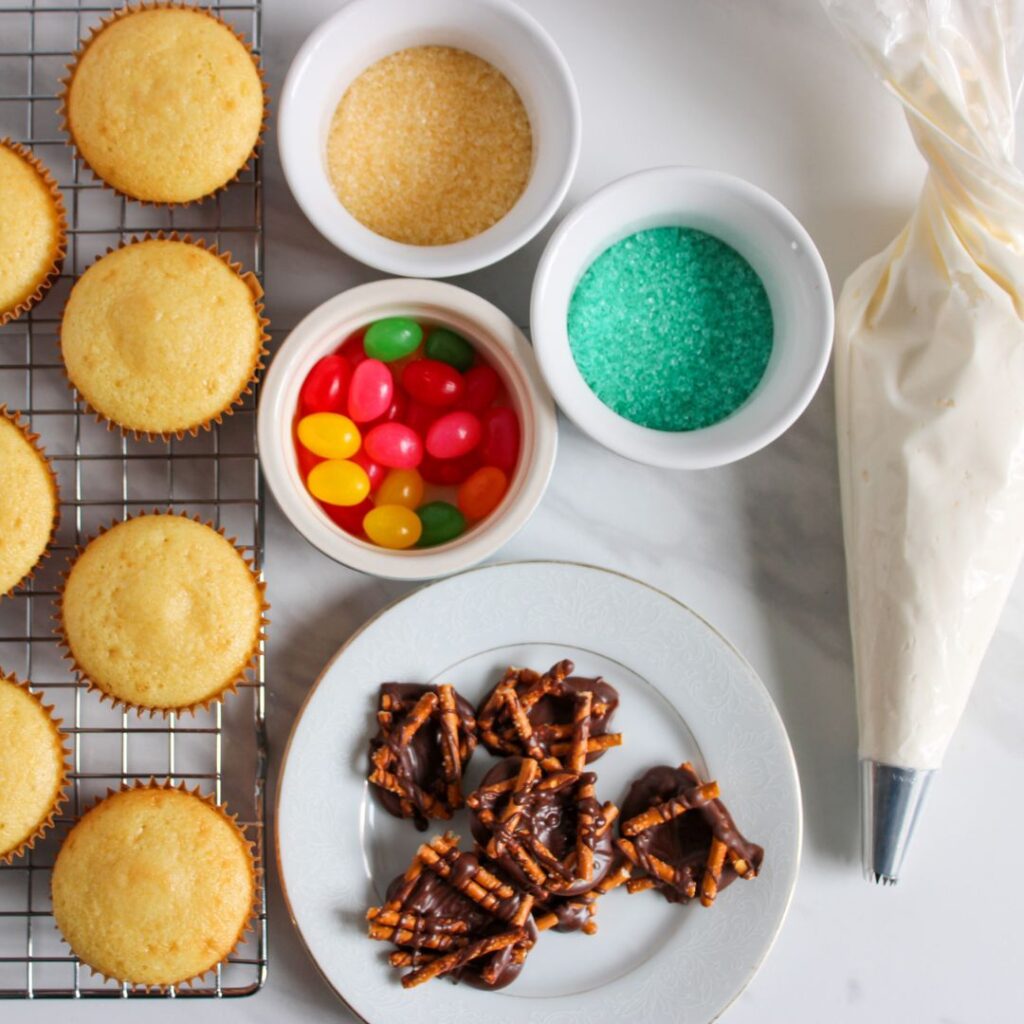
Once done, place in the refrigerator to set for about 5 minutes.
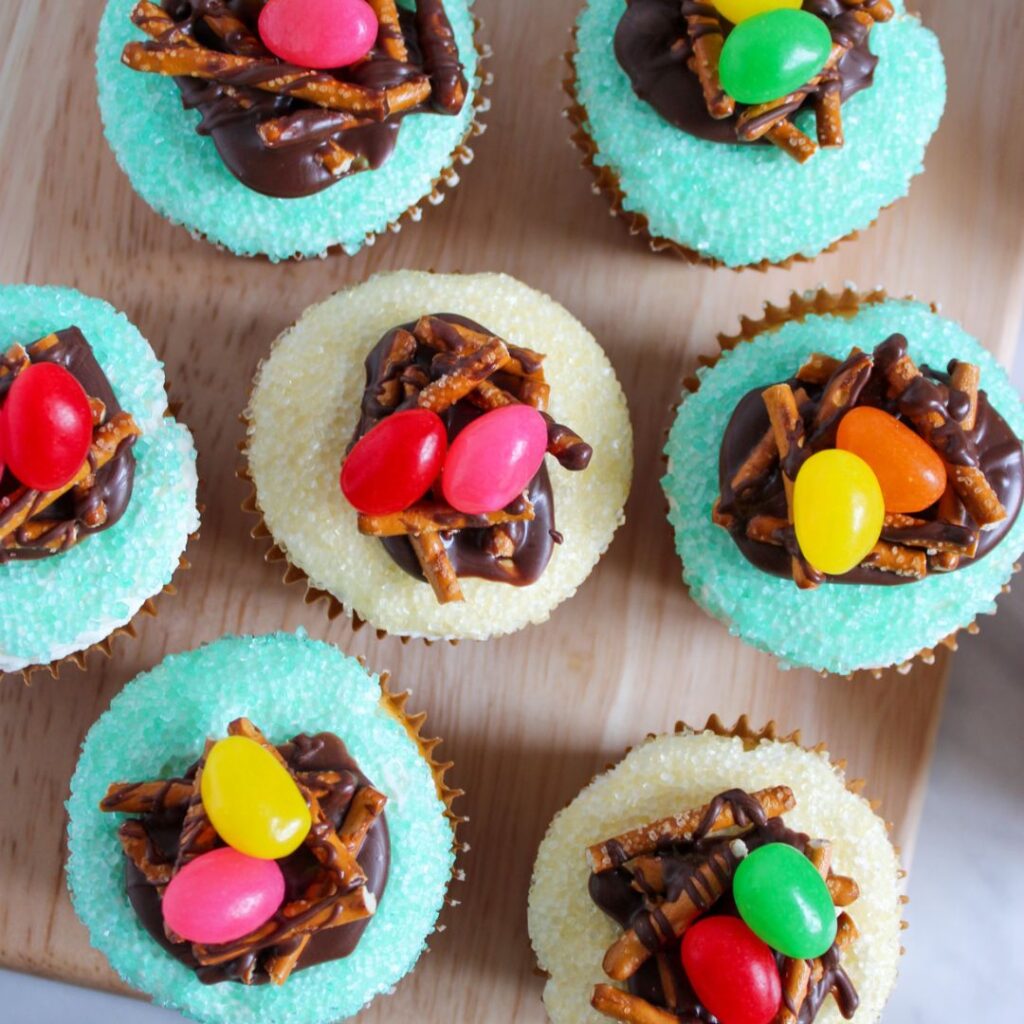
Once the cupcakes have fully cooled and egg nests have set, assemble the cupcake. Frost an even layer of frosting on the cupcake. Turn the cupcake over and press into the sanding sugar. Place an egg nest and two jelly beans on top and enjoy!
PRO Advice for a perfect mini egg cupcakes
For perfectly smooth frosting, beat the butter on its own first until pale, then gradually incorporate the sugar and cream. This ensures your frosting is light and airy, ideal for piping.
Mini egg cupcake
Equipment
- Silicone molds or parchment paper
- Green Sanding Sugar
- Yellow Sanding Sugar
Ingredients
Cupcake Ingredients
- 1 box store bought vanilla cake mi
- x3 eggs1 cup water
- ¼ cup vegetable oil
Frosting Ingredients
- 1/2 cup unsalted butter room temperature
- 2 cups powdered sugar
- 2 Tbsp heavy cream
- Pinch of salt
Egg Nest
- ½ cup mini pretzel rods
- ¼ cup chocolate melting wafers
- ¼ cup jelly beans
Instructions
- Cupcake Directions:
- Preheat oven to 350 degrees F. Add cupcake liners to cupcake pan and set aside.
- Add all cupcake ingredients into a large mixing bowl and beat on medium speed for 2 minutes. Transfer 2.5 Tbsp of cake mix into each cupcake liner.
- Bake for 15 minutes or until a toothpick inserted in the middle comes out clean.
- Remove from pan and allow to cool.
- While the cupcakes are baking, make the frosting by adding the butter to a large mixing bowl. Mix on medium speed for 1 minute.
- Slowly add the powdered sugar 1 cup at a time. Pause to scrape the bowl, add heavy cream and a pinch of salt if desired.
- Mix again for 1 minute until a light and fluffy frosting has formed. Transfer to a piping bag.
- To make the egg nets, place wafers in a microwave safe bowl and melt according to the package.
- Place a small amount into the bottom of each mold (or parchment paper). Break the pretzel rods in half and make a triangle on top of the chocolate. Add another layer of triangle on top of that one going in a different direction. Drizzle chocolate on top of the entire nest to allow the layers to stick.
- Once done, place in the refrigerator to set for about 5 minutes.
- Once cupcakes have fully cooled and egg nests have set, assemble the cupcake. Frost an even layer of frosting on the cupcake. Turn the cupcake over and press into the sanding sugar. Place an egg nest and two jelly beans on top and enjoy!
FAQs
- Can I make these cupcakes ahead of time?
- Yes! Bake the cupcakes a day in advance and store them unfrosted in an airtight container. Assemble the day of serving.
- How do I store the finished cupcakes?
- Keep in a cool or refrigerator, airtight container or a ziplock for up to 3 days.
- Can the frosting be colored?
- Absolutely! Add a few drops of food coloring to the frosting when mixing to match any theme or preference.
Enjoy creating and indulging in these charming Mini Egg Cupcakes, a recipe that promises to bring smiles and sweetness to your spring celebrations!
About the Author
I am Seun, and I love to share my first-hand experience using multiple air fryers. Stick around for yummy delicacies made from the air fryer and many amazing tips on using your newfound Kitchen appliance – the air fryer!

