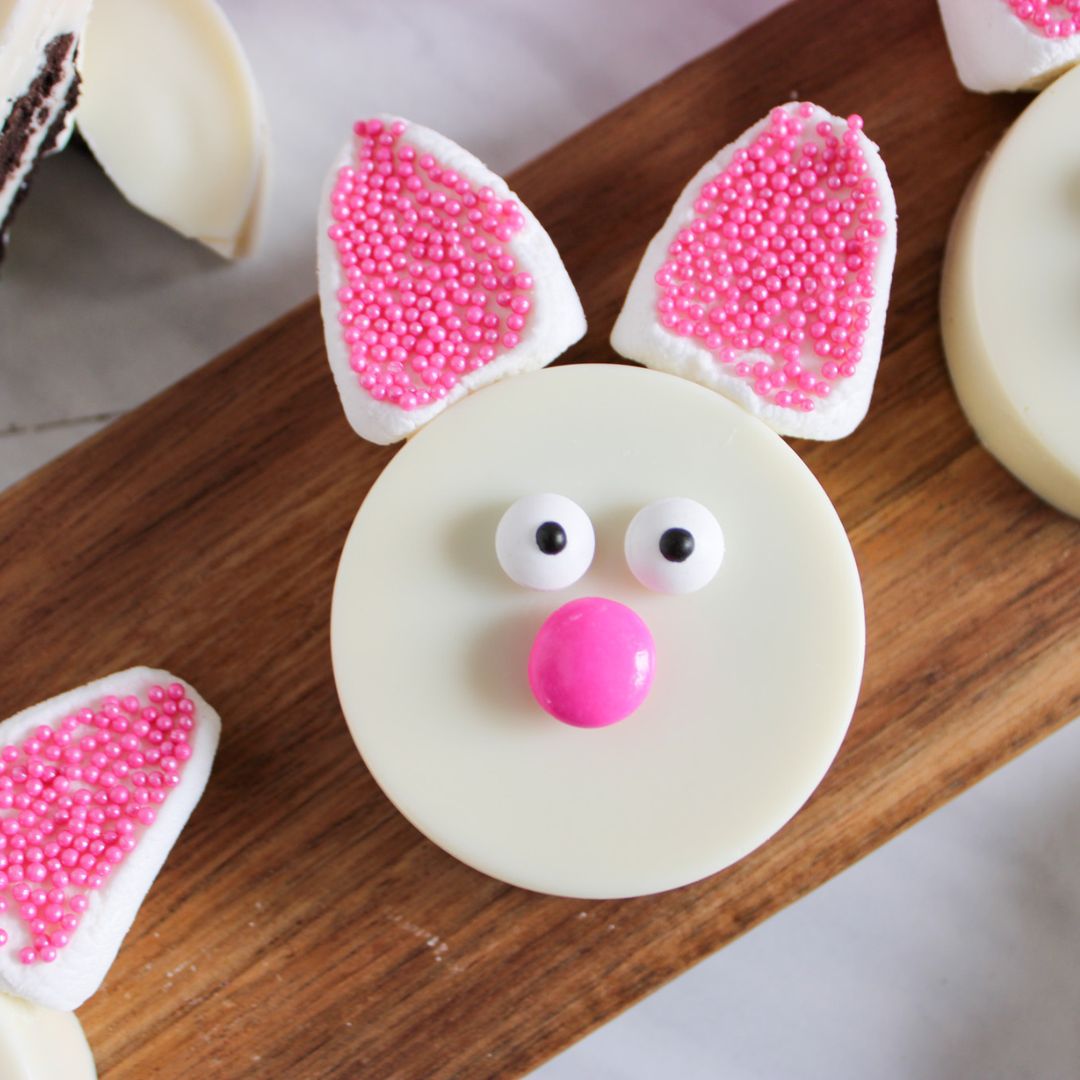
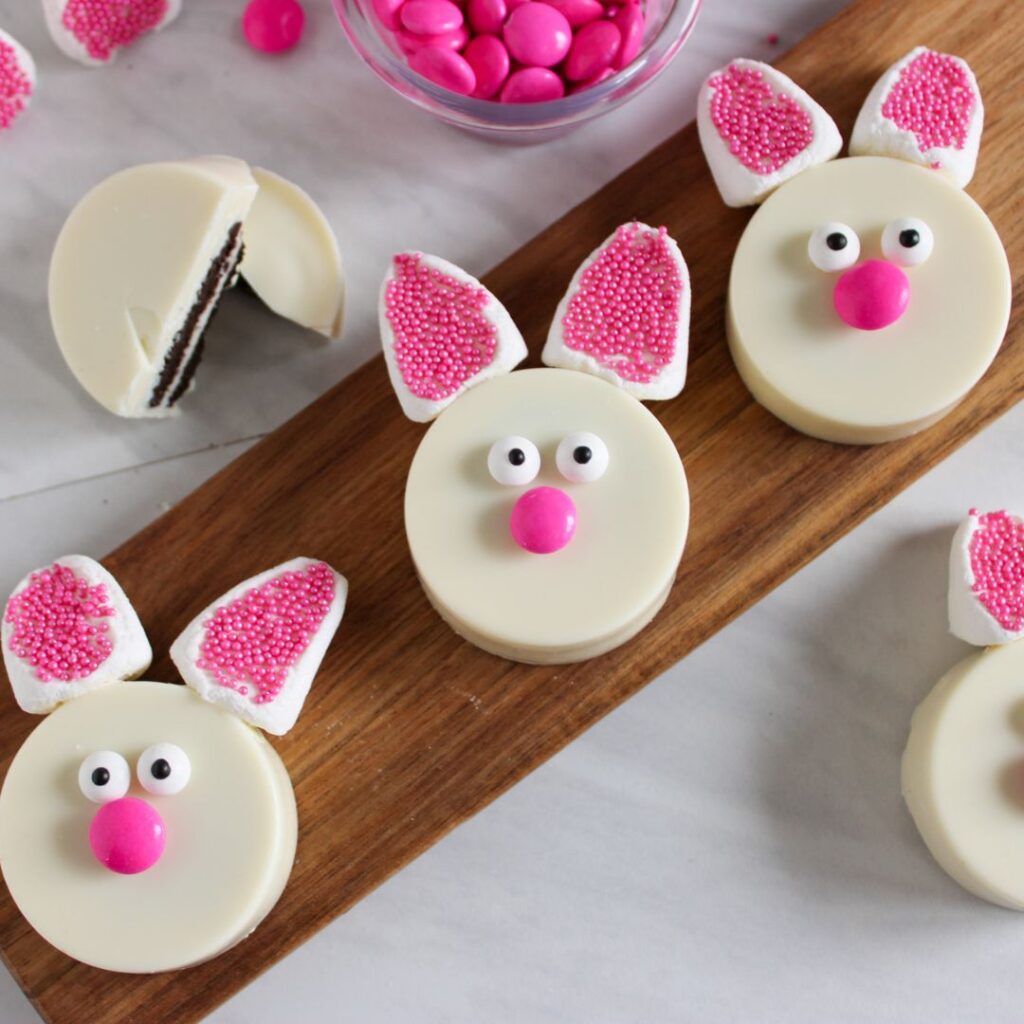
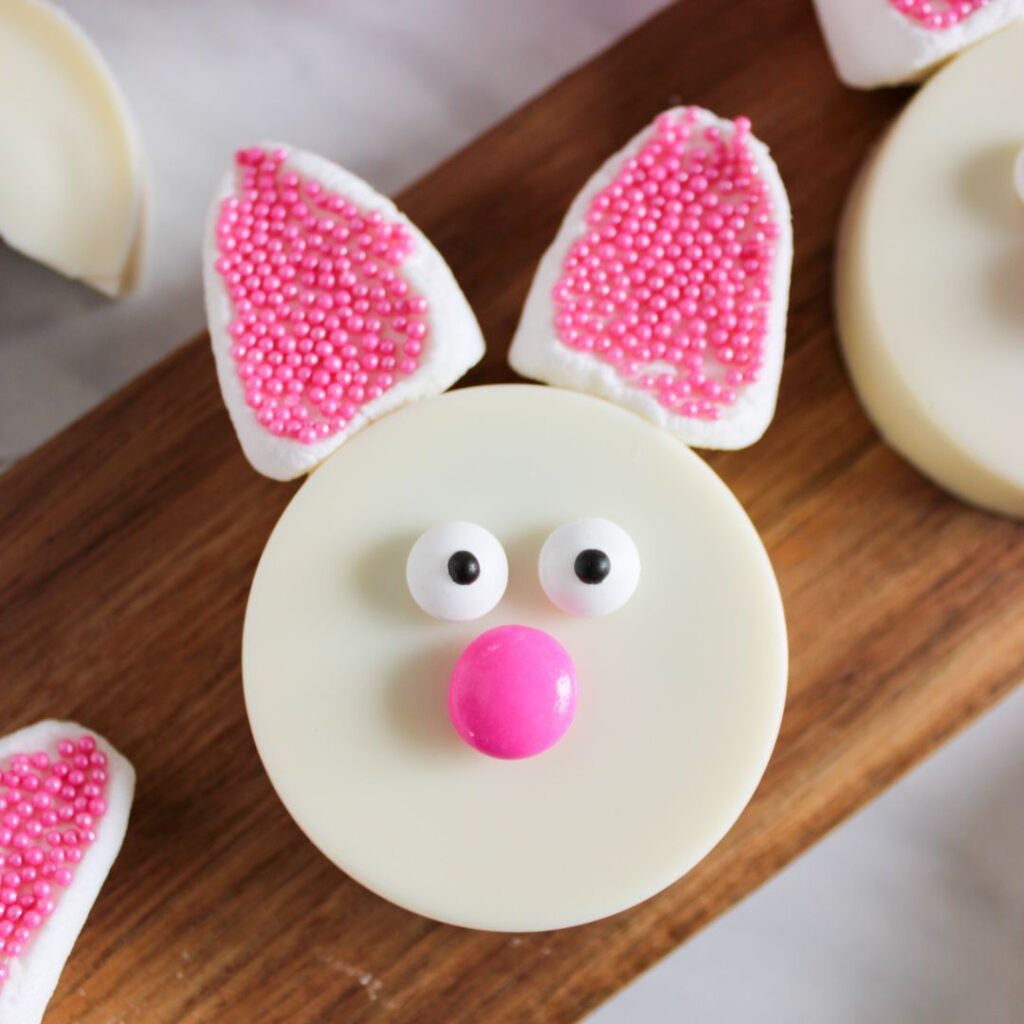
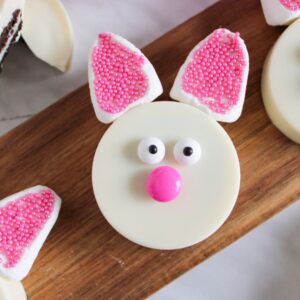
It’s time for some cute Easter bunny Oreos perfect for egg hunting this easter season. Treat your kids and quests with the yummy and attractive bunny Oreos. This is a super simple recipe that requires no baking. Express your creativity with these simple ingredients.
Jump to Recipe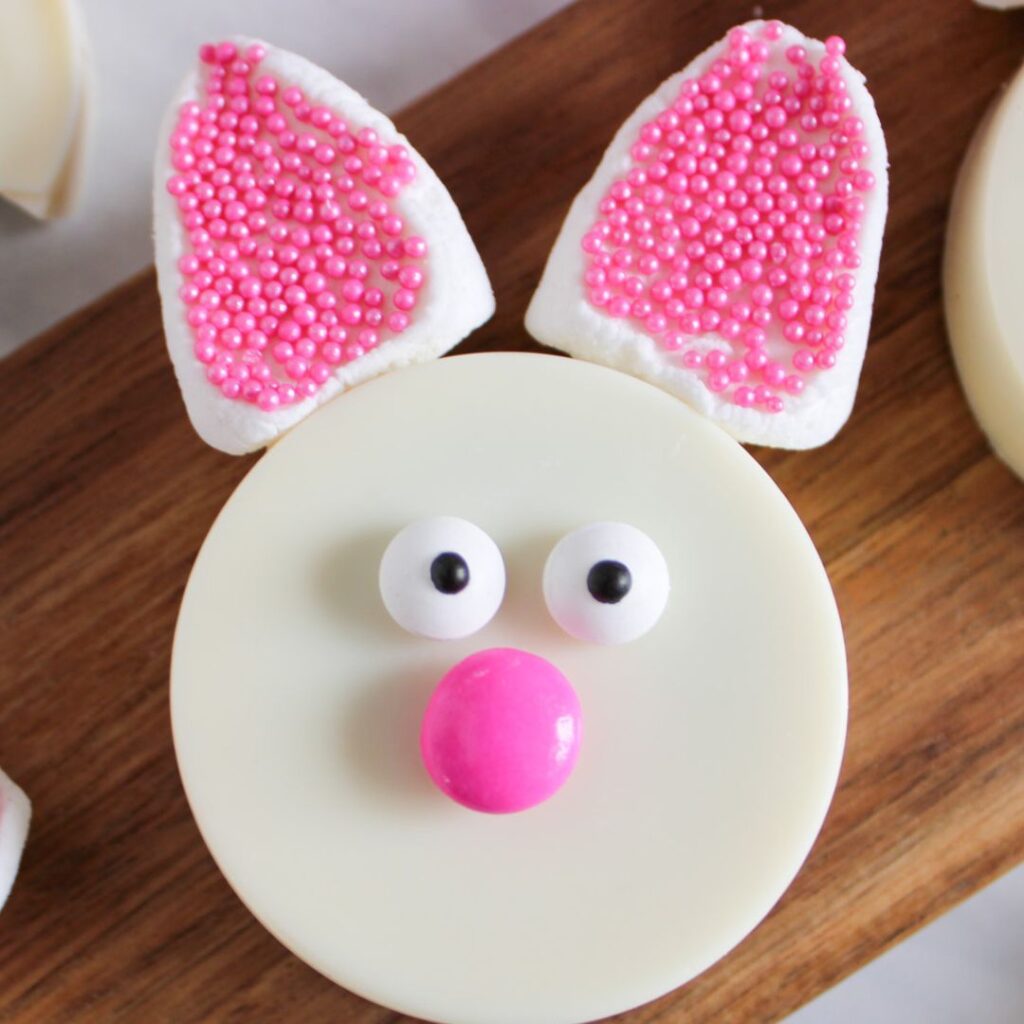
Other no-bake recipes on the blog are chocolate dates and chocolate Pretzels.
Why you will love the Bunny Oreo recipes
- Quick and Convenient: This no-bake bunny Oreo recipe can be completed in under an hour, making it a perfect last-minute treat for Easter celebrations or a fun weekend project with the kids.
- Minimal Ingredients Required: With only four simple ingredients, this recipe is cost-effective and easy to prepare without needing a trip to the grocery store.
- No Oven Needed: The no-bake nature of this recipe makes it ideal for those who prefer not to use an oven or want to save energy. It’s a fantastic way to create delightful treats without heating up the kitchen.
- Fun and Creative: Making these bunny Oreos is a great activity for all ages, encouraging creativity and offering a wonderful opportunity for family bonding. The end result is not just tasty but also incredibly cute, perfect for adding a festive touch to your Easter table.
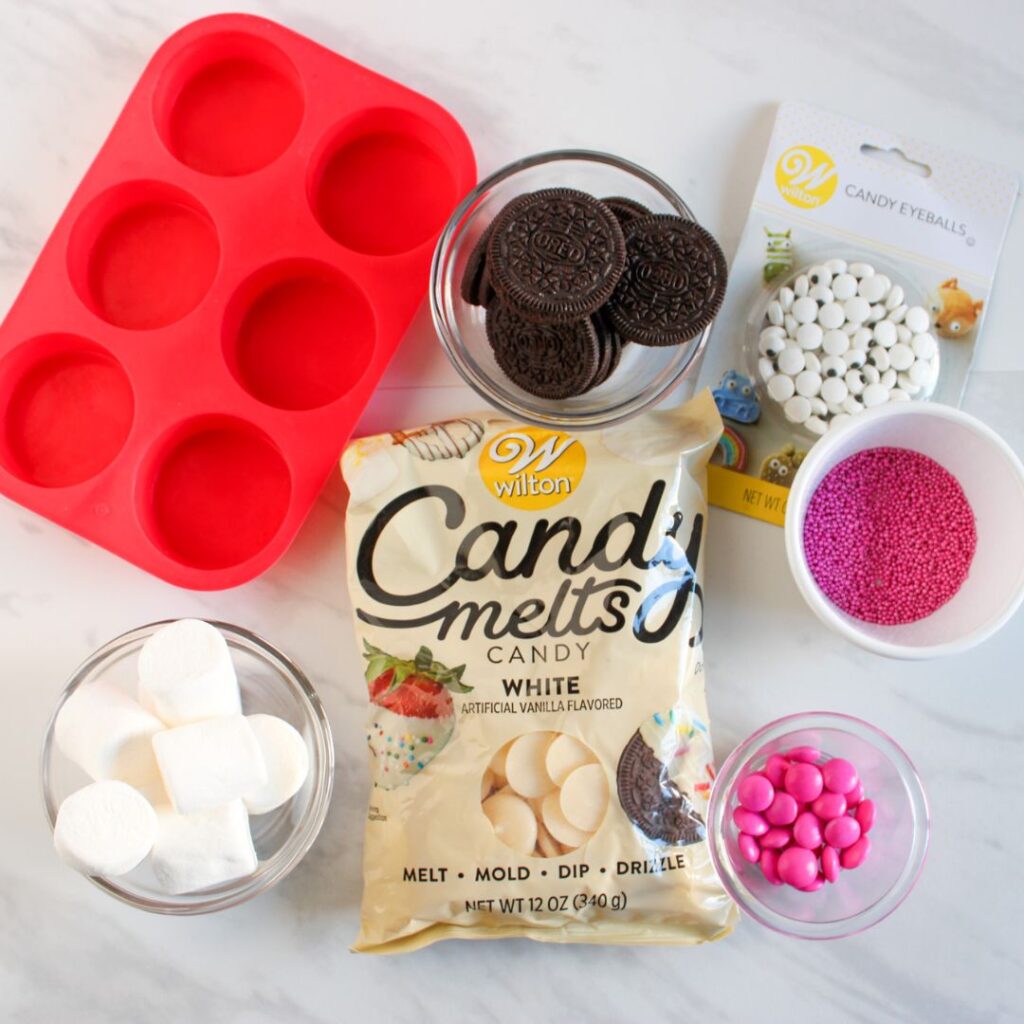
Ingredients for bunny Oreos
White Candy Melts: Serve as the coating for the Oreos, providing a smooth, sweet base for decorations. Substitute with any other chopped white chocolate as an alternative.
Oreos: The centerpiece of the treat, offering a classic cookie crunch. Any sandwich cookie will work if Oreos aren’t available.
Marshmallows: When cut, these create bunny ears, adding a playful, realistic element.
Pink Sprinkles: Used to decorate the marshmallow ears, giving them a cute, colorful look.
Pink M&Ms: Act as the bunny’s nose, adding a pop of color and sweetness. Substitute with any other colors for a personalized effect.
Candy Eyes: Essential for bringing the bunny face to life, adding character to each cookie.
Tools
Microwave
Microwave save bowl
Silicone Oreo Molds: Used to shape the candy melts around the Oreos for a perfect fit.
How to make Easter Bunny Oreos
Step 1 – Melt the Candy: Place candy melts in a microwave-safe bowl and melt according to package instructions until smooth.
Step 2 – Prepare the Molds: Spoon one tablespoon of melted chocolate into each mold. Use a spoon to spread it up the sides.
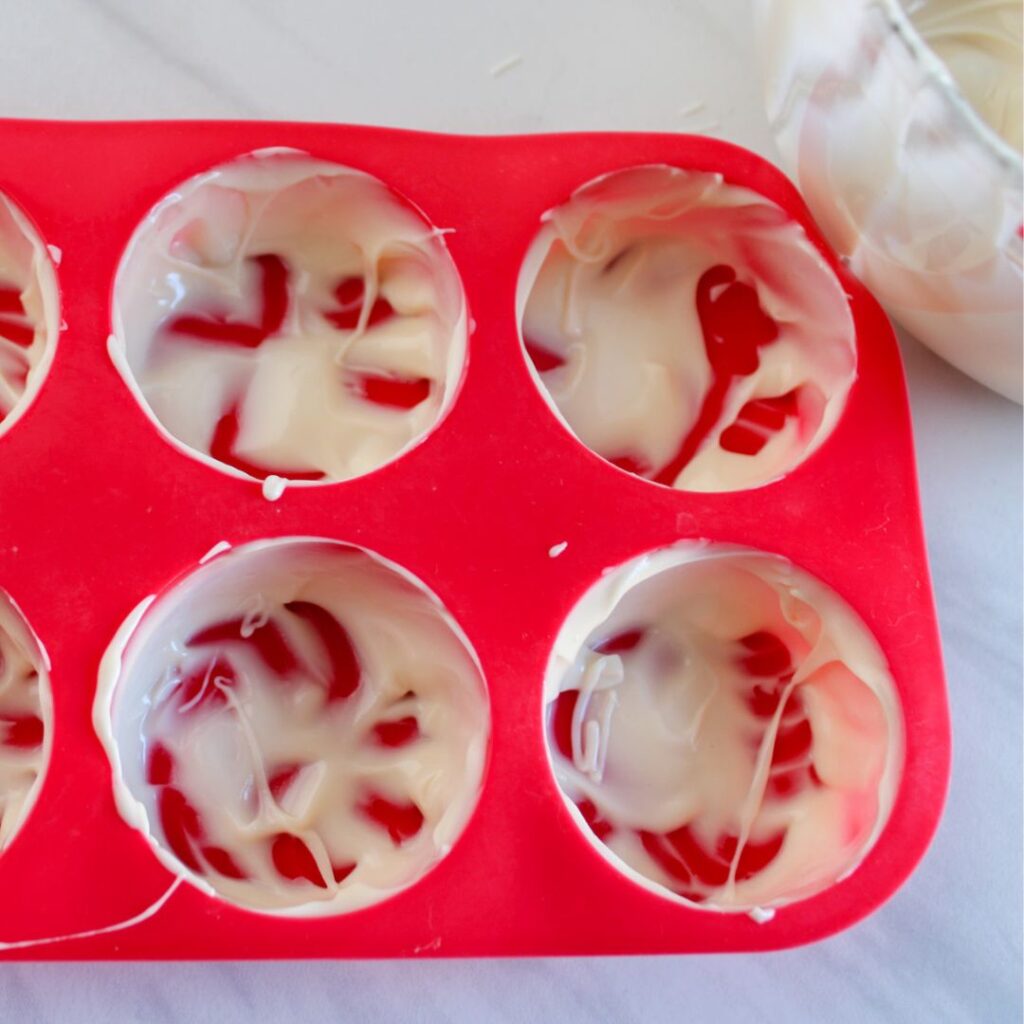
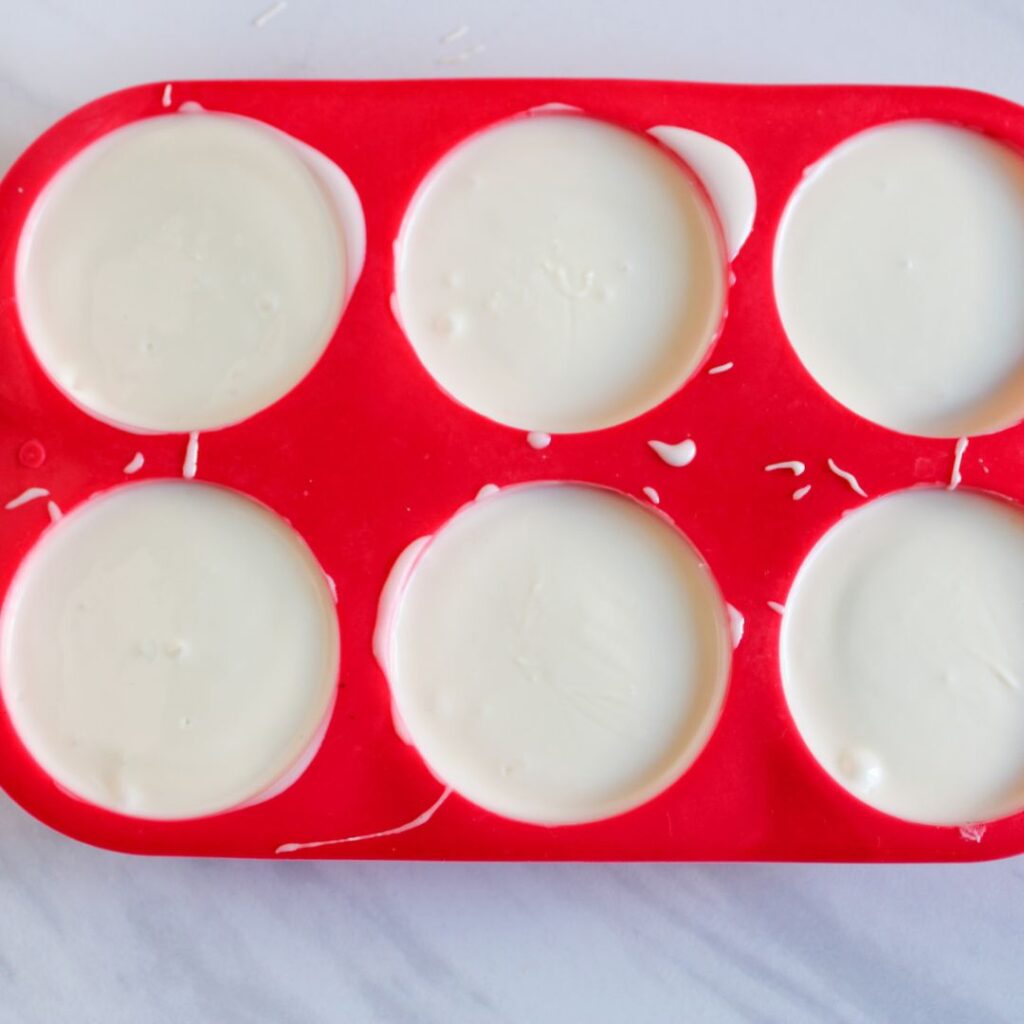
Step 3 – Ensure Even Coating: Tap the mold on a surface to ensure chocolate covers all sides evenly. Refrigerate for 5 minutes to set.
Step 4 – Add Oreos: Place an Oreo in the center of each mold and cover with more melted chocolate. Tap again to remove air bubbles and ensure even coverage. Refrigerate for 15-20 minutes.

Step 5 – Create Bunny Ears: Cut marshmallows diagonally, dip the cut side in pink sprinkles, and attach them to the Oreos with a dab of melted chocolate to form ears.

Step 6 – Decorate Faces: Use melted chocolate to attach candy eyes and an M&M nose to each Oreo.
PRO Tips for a perfect chocolate covered Oreo
Ensure Even Chocolate Coating: For a smooth and even chocolate coating, use a silicone brush or the back of a spoon to spread the melted chocolate inside the mold before inserting the Oreo.
Temperature Control is Key: Ensure the chocolate is melted gently and kept at a consistent, warm temperature. Melt the chocolate in short bursts, stirring in between to prevent overheating. Overheated chocolate can become thick and difficult to work with, while too cool chocolate won’t coat the Oreos smoothly.
Chill to Set, But Not Too Long: While chilling the chocolate-covered Oreos in the refrigerator helps them set quickly, leaving them in the cold for too long can cause condensation to form on the chocolate once brought back to room temperature. Cool for just 15-20 minutes – and then remove them to prevent any moisture buildup, which can spoil the perfect finish.
Bunny Oreos Recipe
Equipment
- Microwave
- Bowl
- Siliconeoreo molds
Ingredients
- 1, 12 oz bags of white candy melts
- 6 oreos
- Silicone oreo molds Amazon link below
- 6 full size marshmallows
- Pink sprinkles
- 6 pink m &ms
- Candy eyes
Instructions
- Add candy melts to microwave safe bowl. Follow the directions on your candy melts bag for melting until chocolate is smooth, thin and glossy.
- Place approximately 1 Tbsp of melted chocolate into each mold and use the back of a spoon to coat the sides.
- After all sides are coated in each mold, pick up mold and tap on the surface until chocolate runs down the sides and fully coats the bottom.
- Place molds in the refrigerator to harden for 5 minutes.
- Remove molds and place oreo in the middle of each cup.
- Pour remaining melted chocolate into each mold.
- Pick up the mold and tap again until the chocolate appears to have coated the space between the cookie and the sides of the mold and evenly covered the top. Continue to tap on the counter until all air bubbles are gone.
- Place back in the refrigerator for approximately 15 – 20 minutes or until the chocolate has fully hardened.
- Remove cookies from each mold.
- To make the ears, cut each marshmallow diagonally. Dip the sticky side into the sprinkles.
- Re-melt any chocolate left in the bowl and place a small amount on the bottom of the marshmallow ears, candy eyes and m & m and stick to the oreo to create the bunny face.
FAQ About No-Bake Easter Treats
- Can I make these ahead of time?
- Yes, you can make them up to a few days in advance. Store in a cool, dry place to keep the chocolate from melting.
- My candy melts are too thick; what can I do?
- If the candy melts are too thick after melting, add a teaspoon of coconut oil or vegetable shortening to thin the mixture.
- Can I use dark chocolate instead of white?
- Absolutely, dark or milk chocolate can be used, though the final appearance will be different.
- How do I store these Easter Bunny Oreos?
- Store in an airtight container at room temperature for up to a week or in the refrigerator if your kitchen is warm.
- Can I freeze these treats?
- Freezing is not recommended as the chocolate may discolor or “bloom” when thawed, and the decorations may get damaged.
About the Author
I am Seun, and I love to share my first-hand experience using multiple air fryers. Stick around for yummy delicacies made from the air fryer and many amazing tips on using your newfound Kitchen appliance – the air fryer!