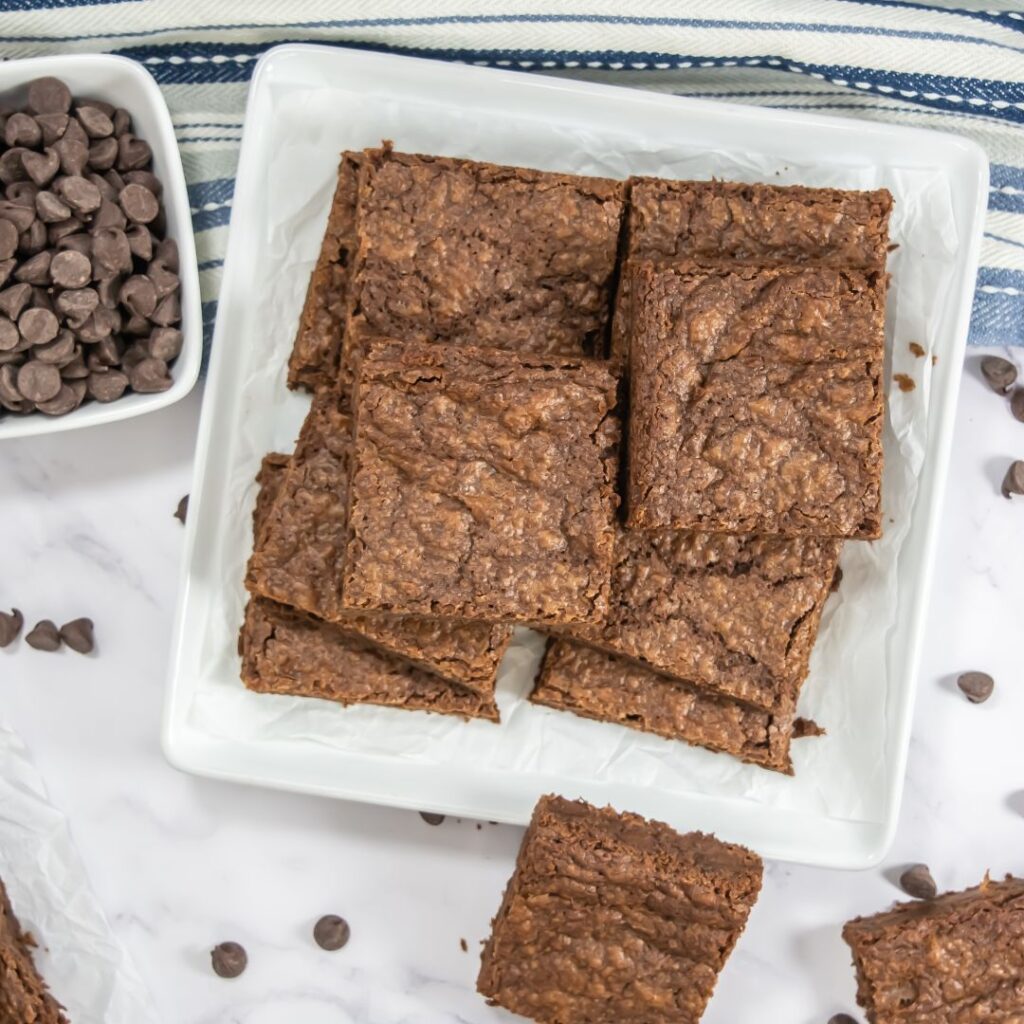
There’s nothing better than a pan of chewy sheet pan brownies—rich, fudgy, and packed with chocolatey goodness.
Jump to RecipeThese brownies have the perfect balance of a crispy edge and a gooey center, making them a crowd-pleaser for any occasion. Whether you’re making them for a party, bake sale, or just to satisfy your chocolate craving, this recipe delivers bakery-style brownies with minimal effort!

PRO TIPS for the Best Chewy Sheet Pan Brownies
- Melt the Butter & Chocolate Together: This helps create a smooth, glossy batter that enhances the chewy texture.
- Use Brown Sugar for Moisture: Brown sugar adds extra moisture and a slight caramel flavor to the brownies.
- Don’t Overmix the Batter: Overmixing can lead to a cakier texture rather than a chewy one.
- Let the Brownies Cool Completely: This ensures clean cuts and allows the flavors to develop fully.
- Line Your Sheet Pan: Using parchment paper or greasing the pan helps prevent sticking and makes removal easy.
Personalizing the Recipe
- Add Mix-Ins: Stir in chopped nuts, white chocolate chips, or toffee bits for extra texture.
- Top with a Chocolate Drizzle: Melt extra chocolate and drizzle it over the brownies for a decadent finish.
- Salted Brownies: Sprinkle a pinch of sea salt on top before baking to enhance the chocolate flavor.
- Espresso Brownies: Add 1 teaspoon of espresso powder to intensify the richness.
Ingredients
- Unsalted butter – Adds richness and moisture for that perfect chewy texture.
- Semi-sweet chocolate chips – The foundation of deep, rich chocolate flavor.
- Equal Sugar & brown sugar – A combination that creates the ideal balance of sweetness and chewiness.
- eggs – Helps bind everything together while adding structure.
- Vanilla extract – Enhances the chocolate flavor with a warm, aromatic touch.
- All-purpose flour – Provides structure without making the brownies too cakey.
- Baking powder – Helps lift the brownies slightly while keeping them dense.
- Salt – Balances out the sweetness and enhances the overall flavor.
- Chocolate chips (optional) – For extra melty chocolate pockets throughout the brownies.

Easy sheet pan brownies
Preheat & Prepare the Pan: Preheat your oven to 350°F (175°C). Line a 11×17-inch jelly roll pan with parchment paper or spray with non-stick cooking spray. Set aside.
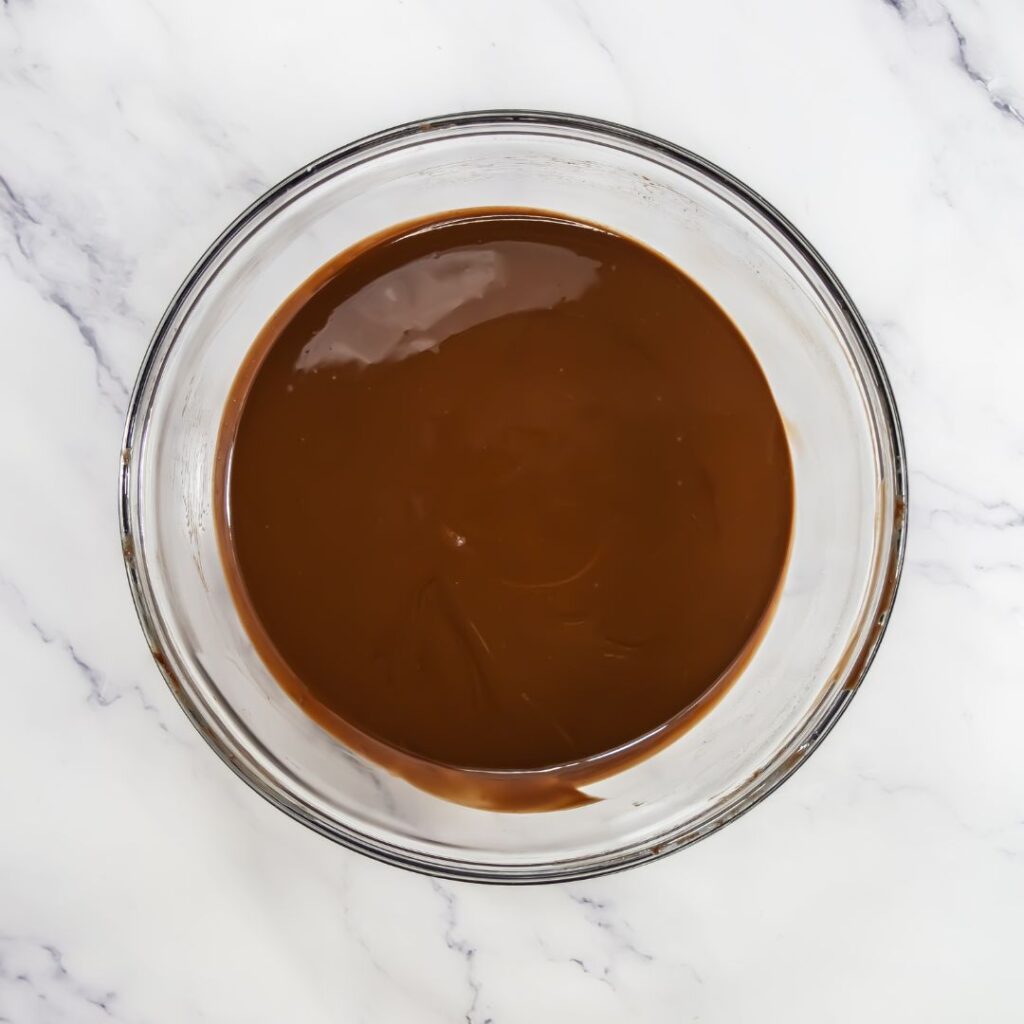
Melt the Butter & Chocolate: In a microwave-safe bowl, melt the 2 cups of chocolate chips and butter together in 30-second intervals, stirring in between until smooth.

Add Sugars: Stir in the sugar and brown sugar until fully combined.

Incorporate Wet Ingredients: Mix in the eggs and vanilla extract, stirring well and scraping down the sides of the bowl.

Add Dry Ingredients: Stir in the flour, baking powder, and salt, mixing just until combined.
Fold in Additional Chocolate (Optional): If using, gently fold in 1 cup of chocolate chips.

Pour & Spread: Transfer the batter into the prepared pan, spreading it evenly with a spatula.
Bake: Bake for 25-30 minutes, or until the edges are set and a toothpick inserted in the center comes out clean or with moist crumbs.
Cool & Slice: Let the brownies cool completely before cutting them into squares.

Different Methods of Baking
- Convection Oven: Reduce baking time by 2-3 minutes, as convection heat circulates more efficiently.
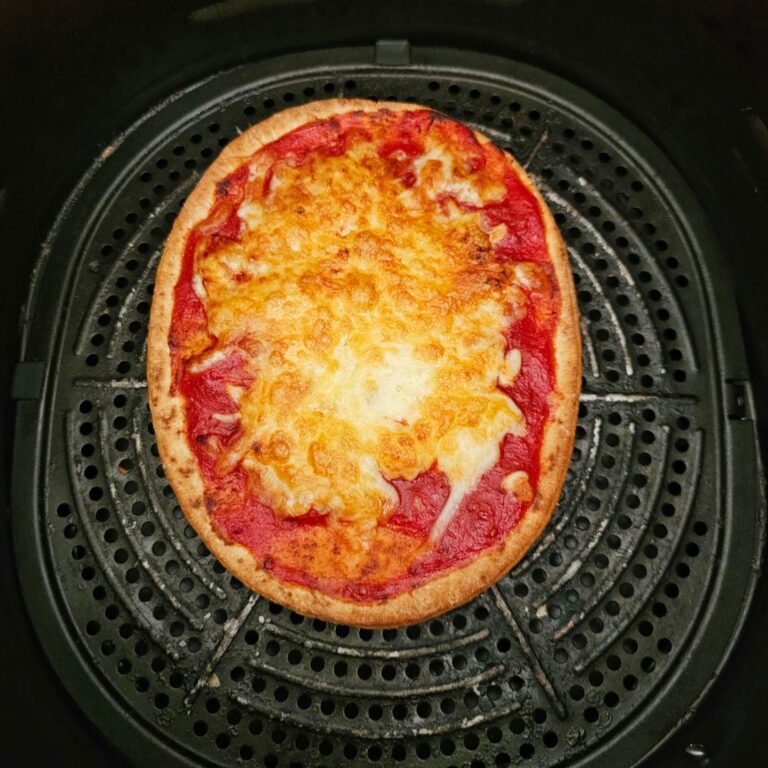
- Air Fryer: Bake in batches using an oven-safe pan at 320°F for 12-15 minutes.
- Stovetop Brownies: Cook the batter in a greased skillet over low heat, covering it to allow even cooking.
Different Methods of Serving
- Classic Style: Enjoy warm with a cold glass of milk.
- Ice Cream Brownies: Serve topped with a scoop of vanilla ice cream.
- Chocolate Drizzle: Melt extra chocolate and drizzle over the top before serving.
- Layered Dessert: Use as a base for brownie parfaits, layering with whipped cream and berries.

How to Store Leftovers
- Room Temperature: Store in an airtight container for up to 3 days.
- Refrigeration: Keep in the fridge for up to a week for a denser, fudgier texture.
- Freezing: Wrap brownies individually and freeze for up to 3 months. Thaw at room temperature before serving.
- Reheating: Microwave for 10-15 seconds for a warm, gooey texture.

sheet pan brownies FAQ’s
How do I make my brownies even chewier?
Use more brown sugar than white sugar and avoid overbaking.
Can I add nuts?
Yes! Chopped walnuts, pecans, or almonds add great crunch and flavor.
Why did my brownies turn out cakey?
Overmixing or adding too much flour can create a cakier texture.
Can I make these gluten-free?
Yes! Substitute all-purpose flour with 1:1 gluten-free baking flour.
What size pan should I use if I don’t have a jelly roll pan?
A 9×13-inch pan will work, but the baking time may be slightly longer.

Chewy Sheet Pan Brownies
Ingredients
- 1 ½ cups unsalted butter
- 2 cup semi sweet chocolate chips
- ½ cup sugar
- 1 cup brown sugar
- 5 eggs
- 2 Tsb vanilla
- 1 ½ cup flour
- 2 tsb baking powder
- ½ tsp salt
- 1 cup chocolate chips optional
Instructions
- Preheat oven to 350°F and prepare a 11×17-inch sheet pan.
- Melt butter and chocolate chips in the microwave, stirring until smooth.
- Stir in sugar and brown sugar.
- Add eggs and vanilla extract, mix well.
- Stir in flour, baking powder, and salt.
- Fold in extra chocolate chips (optional).
- Pour batter into the pan and spread evenly.
- Bake for 25-30 minutes until set.
- Cool completely before slicing.
These chewy sheet pan brownies are the ultimate easy-to-make dessert, packed with rich chocolate flavor and the perfect balance of crispy edges and a soft, fudgy center.
Whether you enjoy them warm with ice cream or as a grab-and-go treat, they’re guaranteed to satisfy your chocolate cravings. Try this recipe today, and let me know your favorite way to serve them!
About the Author
I am Seun, and I love to share my first-hand experience using multiple air fryers. Stick around for yummy delicacies made from the air fryer and many amazing tips on using your newfound Kitchen appliance – the air fryer!